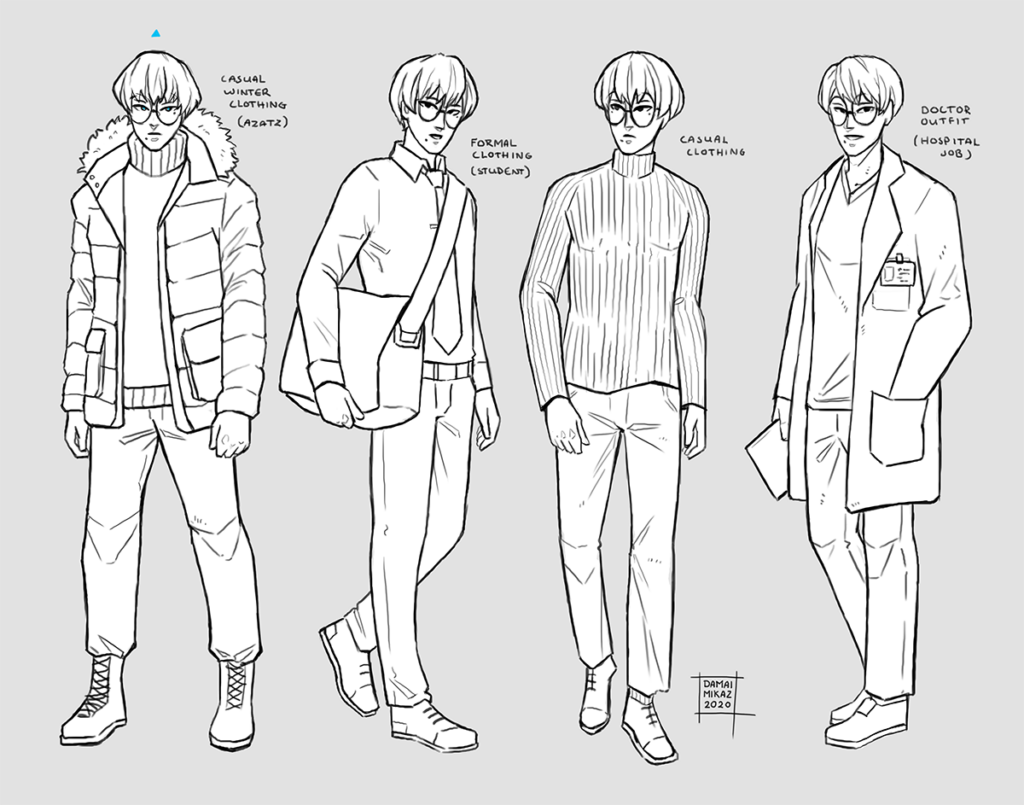
Learn how to draw an anime boy, here’s an easy step-by-step on how to draw a full anime boy from face to bottom:
Table of Contents
Step 1 – Learn to Draw the Outline of the Boy’s Head, Neck, & Shoulders
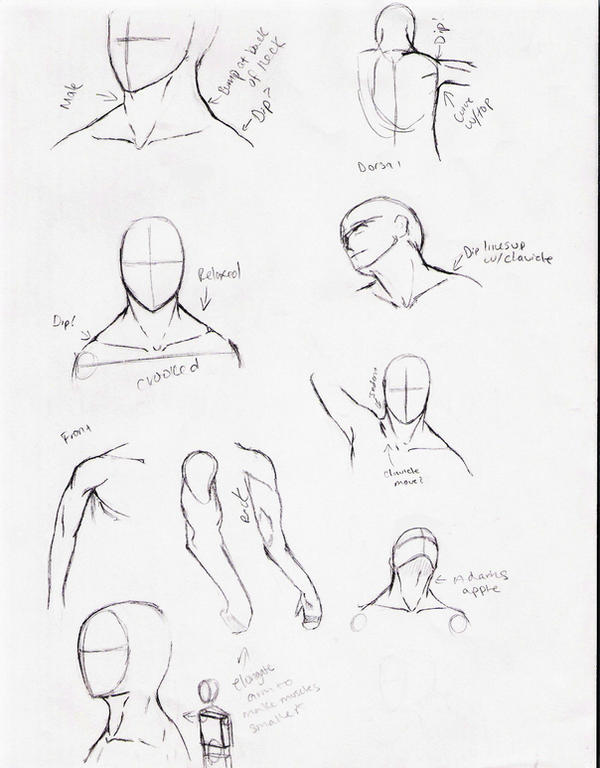
Start off by drawing an oval shape for the head. Keep the bottom slightly pointed to form the chin. Add two intersecting lines in the center of the face to guide the placement of facial features. Extend two lines downward from the base of the head to form the neck, and draw sloping lines outward for the shoulders.
Step 2 – Learn to Draw the Ears

Place the ears between the horizontal guideline for the center of the face and the bottom of the chin. The ears can be drawn as simple curves while being slightly angular to keep them in line with anime styles.
Step 3 – Draw the Eyes

Draw two almond-shaped eyes large and just below the horizontal guideline. Make sure the inner edges of the eyes are as close as possible to the vertical guideline. Add in some curves or straight lines at the top to detail the eyelids and a couple of little circles inside the pupils to give them shine.
Step 4 – Draw the Eyebrows
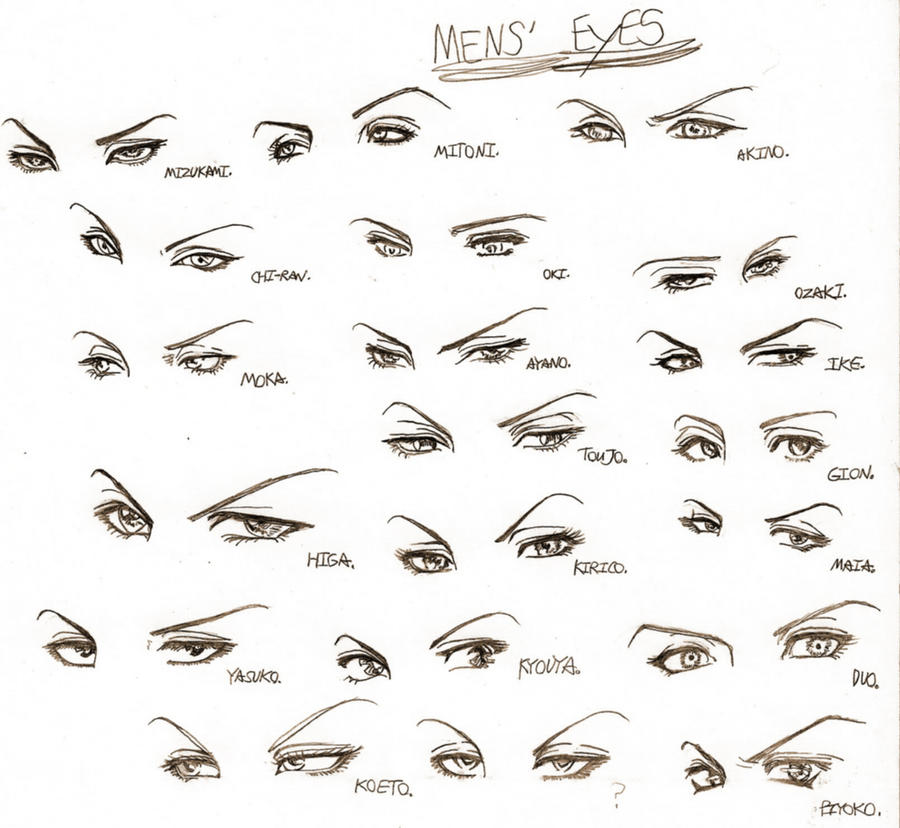
Above the eyes, draw thin, angled eyebrows. They can be curved, straight, or slightly arched depending upon the emotion or personality of the boy.
Step 5 – Draw the Nose
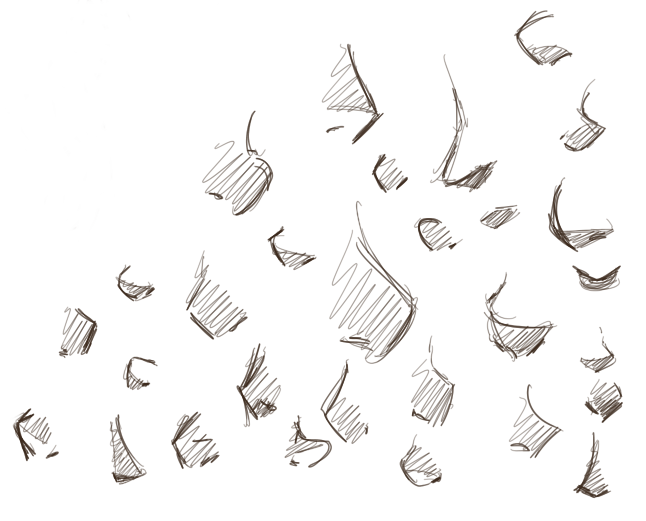
The noses in anime are usually minimalist. So, draw a small, subtle line or dot below the eyes but close to the vertical guide.
Step 6 – Draw the Mouth
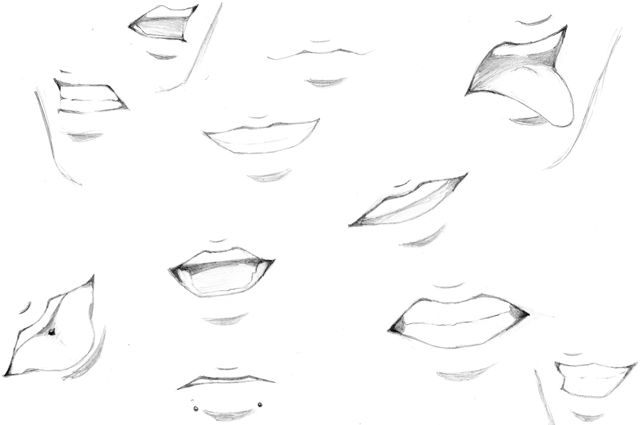
Place the mouth midway between the nose and chin. A simple small curved line or slight “smile” will be enough for an anime boy.
Step 7 – Draw the Hair Along the Forehead
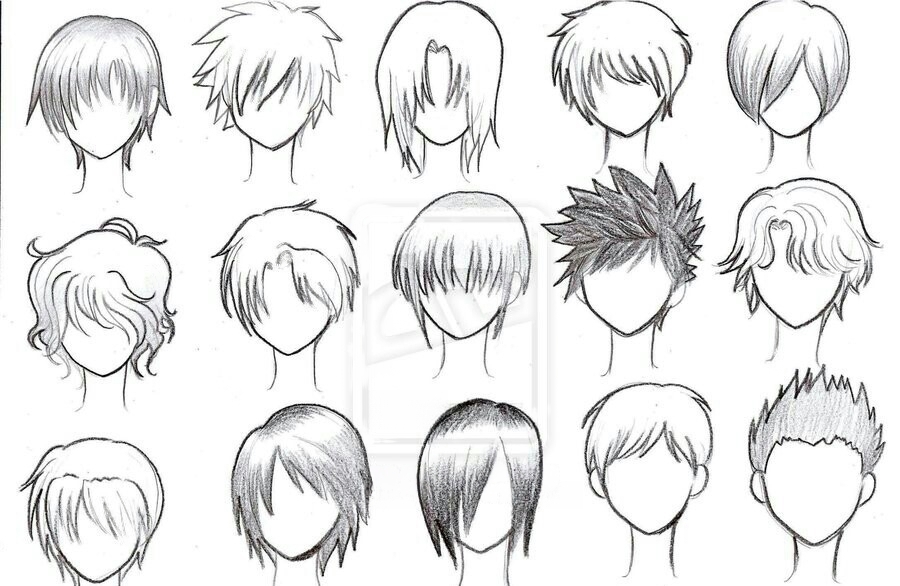
Anime hair is dynamic and stylish. First, sketch the bangs-fringe by drawing curved, pointed strands that fall along the forehead. Allow the strands to vary in length for a natural effect. Complete the hairstyle by sketching the hair on the top and back. Add more spiky strands to create volume, or smooth lines for a simpler style.
Step 8 – Draw the Eye/Ear Details
Draw the iris and pupil in the eyes. For the ears, draw slight curves to show that there’s some structure inside. Be symmetrical about the positioning of such features.
Step 9 – Draw the Clothes
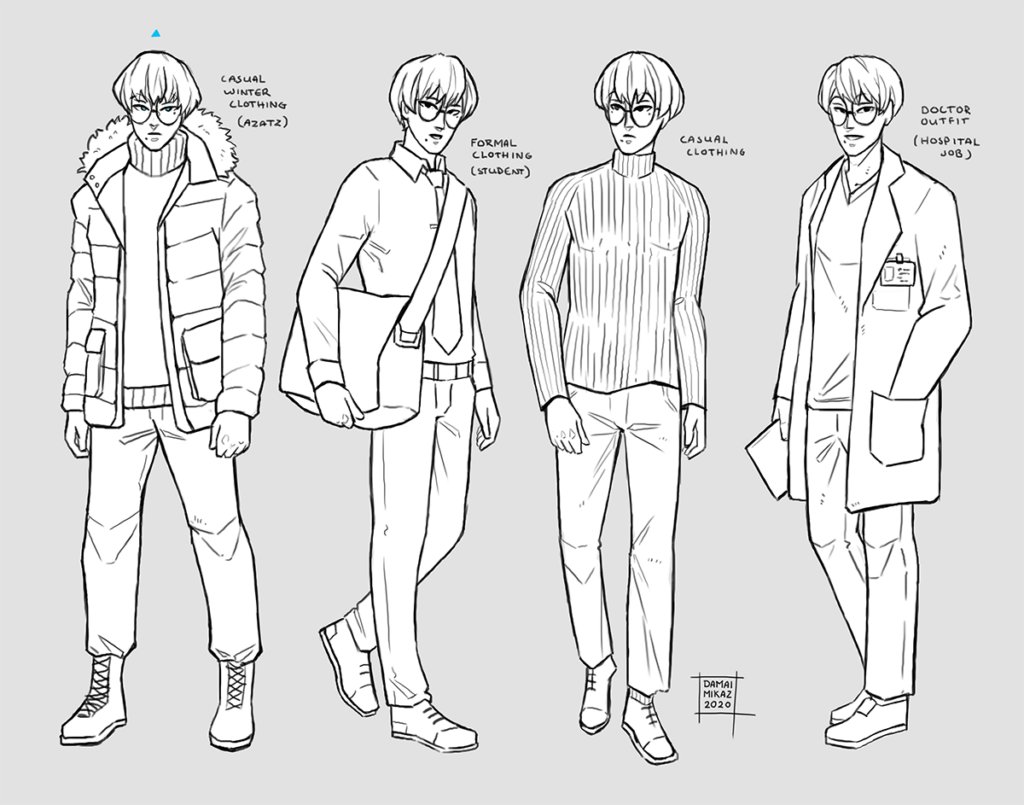
Sketch the clothes of the boy by outlining a neckline first, which might be a shirt, jacket, or hoodie. Use smooth flowing lines to draw realistic folds of cloth.
Step 10 – Shading to Complete the Boy’s Drawing
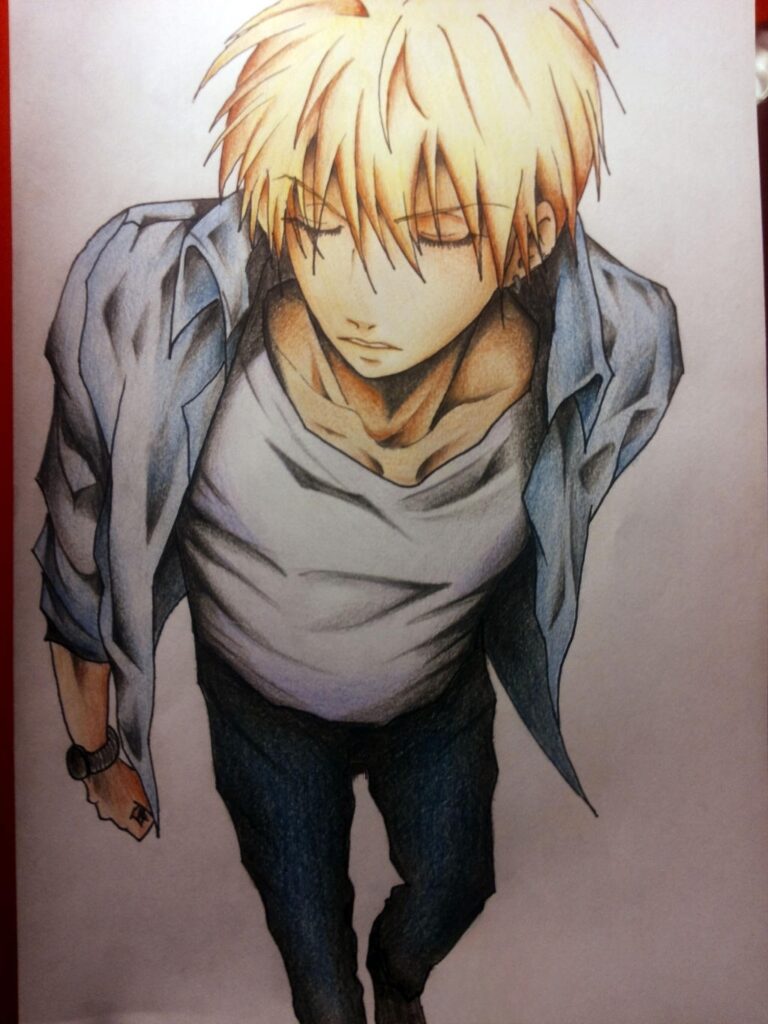
Add the drawing with your shading or coloring. Sketch by placing the shadow beneath the hair, along the neck, and on the clothes for depth. On the face, use lighter shading to emphasize the features.
Drawing an anime boy has been composed of both structured steps and creative flair. Starting with a basic outline, then slowly adding features, allows you to build up to a very polished and expressive character. Practice on a regular basis to refine your technique, and do not be afraid to experiment with different hairstyles, expressions, and outfits.
Frequently Asked Questions (FAQ’s)
1. What tools do I need to draw an anime boy?
A pencil, eraser, and paper are enough, but digital tools like a tablet can also be used.
2. How do I make the proportions accurate?
Use guide lines for the head and face to ensure balanced proportions.
3. What is the easiest hairstyle to draw?
Short, spiky hair is simple and common in anime styles.
4. How do I add emotion to the drawing?
Adjust the eyes, eyebrows, and mouth to reflect the desired emotion.
5. What’s the best way to shade the drawing?
Use light strokes for subtle shading and dark lines for shadows.
6. Can I draw an anime boy without references?
Yes, but references can help improve accuracy and creativity.
7. How do I improve my anime drawing skills?
Practice regularly and study professional anime art for inspiration.

